
 409-842-4404
How Stud Bolts Are Made, Step by Step
Key Takeaways
- A full-thread stud bolt often starts as threaded rod that’s cut to length, chamfered on both ends, stamped, coated if needed, fitted with nuts, inspected and shipped with certs.
- Chamfering cuts only the point at the end of the stud, where the saw leaves a partial thread, so the nut starts straight and the full threads behind it stay protected.
- ASTM A962 limits the point on a stud to one to two complete threads, and ASME B16.5 stud lengths don’t count the points.
- Studs cut from rod get stamped after cutting, because A193 and A320 call for grade and maker marks on one end of every stud 3/8 inch and up.
- B7M and L7M studs need their final heat treatment after all cutting and machining.
- The C3A-M chamfers and stamps in one cycle, the FeedMate automates loading, and NutMate machines replace hand threading of nuts.
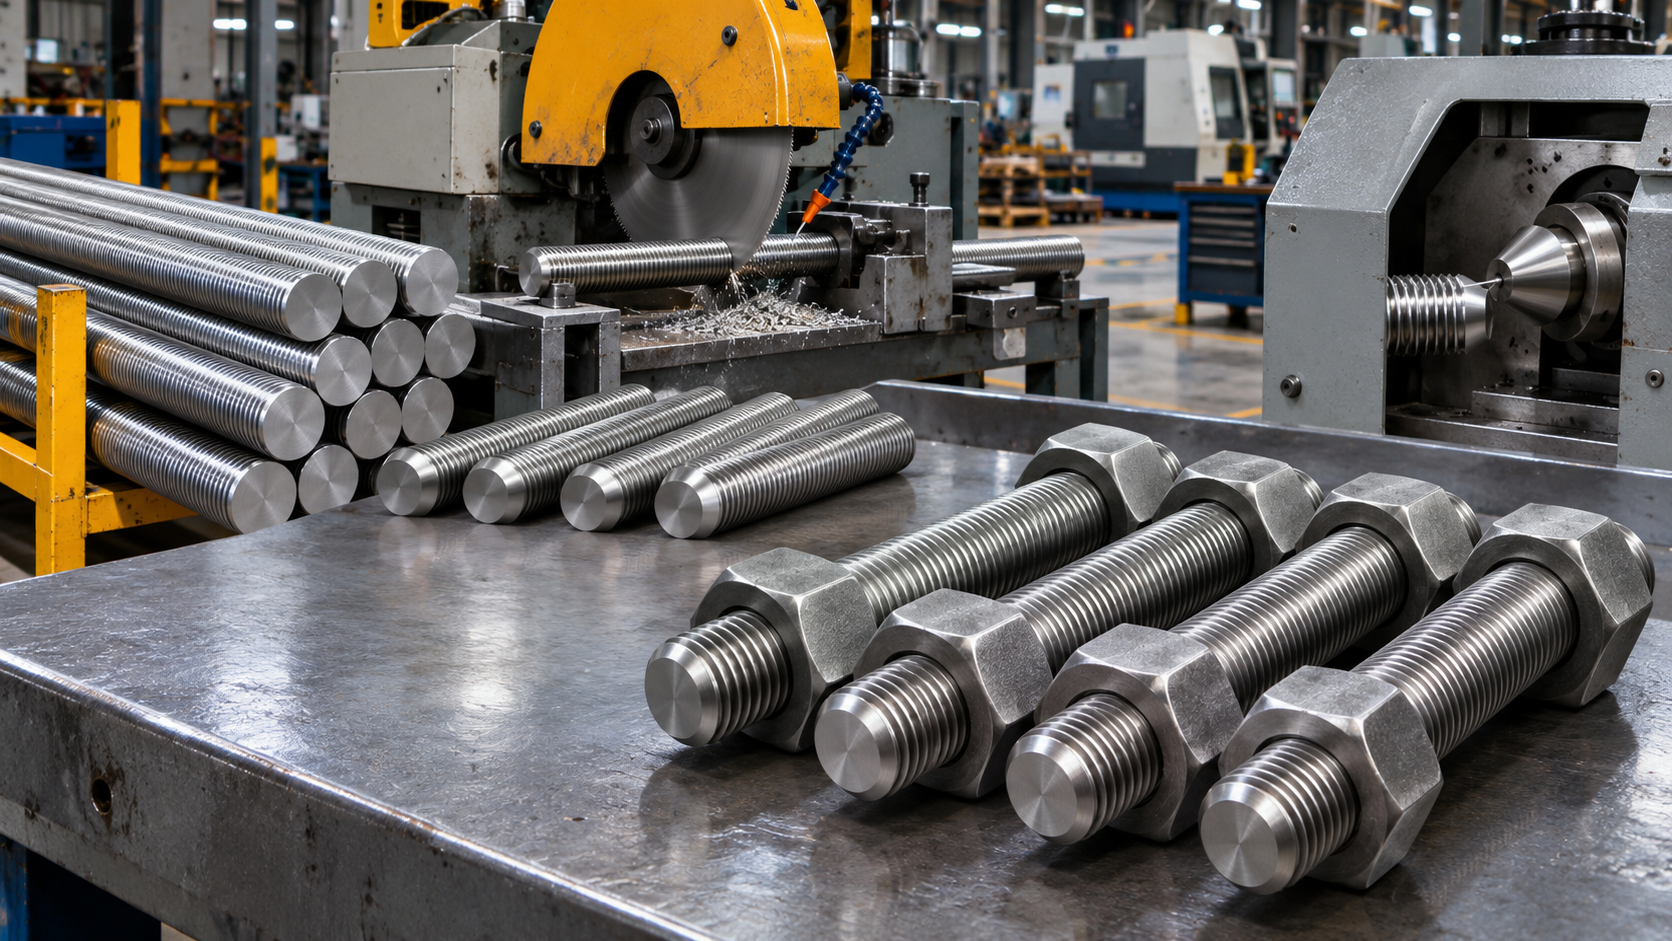
A full-thread stud bolt often starts as a 12-foot stick of threaded rod. In stud bolt manufacturing, that rod gets cut to length, chamfered on both ends, stamped with a grade symbol and the maker’s mark, coated if the order calls for it, fitted with nuts, then inspected and packed with its paperwork. Every one of those steps can be done by hand, and some shops still chamfer and stamp studs one at a time.
Below, we walk through stud manufacturing from threaded rod to a shippable stud, answer whether chamfering damages the threads, and show where automation fits at each step.
What Is a Stud Bolt?
A stud is a headless fastener threaded on both ends or along its full length. A stud bolt is the kind that takes a nut on each end. On a flanged joint, it’s typically a fully threaded rod with two heavy hex nuts, and ASME B16.5 sets the number, diameter and length of the studs for each flange size and pressure class.
The common types are:
- Full-thread studs. Threaded end to end. These are the studs you make by cutting threaded rod to length.
- Double-end studs. Threaded on both ends, with an unthreaded section in the middle.
- Tap-end studs. A short thread on one end screws into a tapped hole, and a longer thread on the other end takes a nut.
This guide follows full-thread studs, since they’re the ones made from threaded rod.
The Stud Bolt Manufacturing Process at a Glance
From start to finish, the steps are:
- Start with certified threaded rod and keep its heat number with it.
- Cut the rod to length.
- Chamfer both ends.
- Stamp the grade symbol and maker’s mark on one end.
- Coat or plate the studs, if the order calls for it.
- Thread on the nuts.
- Inspect, pack and ship with the certs.
Step 1: Start With Certified Threaded Rod
Stud shops and distributors typically stock threaded rod in 12-foot lengths and cut studs from it as orders come in. B7 rod is threaded after it’s heat treated, so the rod arrives quenched and tempered.
The rod should come with a material test report (MTR) tied to its heat. Keep that heat number with the studs you cut, so the paperwork still matches what ships. Buyers expect MTRs traceable to the heat, and our guide to choosing a stud bolt supplier covers what else they check.
Keep one marking rule in mind from the start. ASTM A962, which sets the common requirements for A193 and A320 bolting, lets threaded bar ship without marks on each bar when it’s bundled and tagged, with the grade and the maker’s ID or name on the tag. Once that bar becomes studs 3/8 inch and larger, each stud needs its own marks. Step 4 covers that.
Studs in sizes or grades that aren’t available as threaded rod start as plain bar, which gets cut to length and then threaded. If you cut your own blanks, our guide to choosing a hydraulic bar shear for fastener production explains when a shear beats a saw.
Step 2: Cut the Rod to Length
Threaded rod is typically cut to length on a bandsaw, which leaves a flat end to chamfer and stamp. The cut also leaves a burr and a partial thread at the end. A raw end like that is prone to cross-threading and makes a nut hard to start, which is why chamfering comes next.
Before you cut, confirm how the order defines length. ASME B16.5 flange stud lengths are measured from first thread to first thread and don’t include the points, so the overall length runs a little longer than the listed length.
Saw choice affects the cut edge, too. Our guide to the right saw to cut metal bolts compares band saws, cold saws and abrasive cutoff.
Step 3: Chamfer Both Ends
Chamfering bevels the end of the stud. It removes the partial first thread along with the cutting burr, which makes nut assembly easier and lowers the risk of damaging threads at the ends of the stud. Both ends get chamfered, since each end takes a nut.
The standard limits how much comes off. ASTM A962 says the point on studs and stud bolts must be at least one and no more than two complete threads long, measured from the end parallel to the axis.
If the terms get mixed up on your floor, our chamfer vs. bevel guide sorts them out. For methods, our article on rod chamfering techniques compares manual, semi-automated and inline chamfering.
Does Chamfering Damage the Threads?
No, not when the point stays within spec. The chamfer only cuts the point, the first one or two threads at the end, where the saw already left a partial thread and a burr. The full threads behind the point aren’t touched, and a clean lead-in protects them, because the nut starts straight instead of cross-threading. Stud length isn’t affected either, since B16.5 lengths don’t count the points.
Chamfering causes trouble when it’s done badly:
- The point runs past two threads. That’s outside the A962 limit for studs.
- The chamfer varies from stud to stud. With hand grinding or filing, the angle and depth depend on the operator.
- The tooling is worn. A dull insert leaves an irregular edge with chatter marks instead of a clean cut.
A chamfering machine removes most of that variation. On MSI’s ChamferMate machines, the chamfer angle is fixed and the adjustable cutter head is set with gauges, so the chamfer comes out the same on every stud.
B7M and L7M Get Their Final Heat Treatment After Cutting
B7M and L7M studs follow one more rule. ASTM A193 and A320 require their final heat treatment, which can be a temper at 1150°F (620°C) minimum, to come after all machining and forming, including thread rolling and any type of cutting. So B7M or L7M studs cut and chamfered from rod still need that final temper before they ship.
Step 4: Stamp the Grade and Maker Marks
Every A193 or A320 stud 3/8 inch or larger gets two marks on one end: its grade symbol and the manufacturer’s identification. A stud end too small for both can carry the grade on one end and the maker’s mark on the other. When you cut studs from rod, each cut stud gets stamped with the grade and your identification.
Chamfering and stamping are often done on the same machine, which saves a second round of handling.
The symbols depend on the grade: B7, B7M, B8M, L7 and so on, with matching marks on the nuts. Our guide to stud bolt marking requirements covers each one, including a B7M marking change in current editions of A193.
Step 5: Coat or Plate, If the Order Calls for It
Plain-finish studs skip this step. For hot-dip galvanized studs, a common sequence is to cut from plain rod, chamfer and stamp, then galvanize. Studs cut from rod that’s already galvanized have bare steel at the cut end, and some suppliers cold-galvanize that tip with a zinc-rich primer when the job allows it.
Match the nuts to the finish. Plain nuts can’t be used with galvanized studs, so order nuts in the same finish as the studs.
Step 6: Thread On the Nuts
Flange studs usually ship with two heavy hex nuts each, matched to the stud’s grade and finish. For B7 studs, that’s typically ASTM A194 2H heavy hex nuts.
Threading two nuts onto every stud by hand is slow, tiring work on a large order. Our comparison of manual vs. automatic nut assembly machines walks through when a powered station pays for itself.
Step 7: Inspect, Pack and Ship With the Certs
Before studs ship, check what your customer will check:
- Threads. Unless the order says otherwise, A962 calls for ASME B1.1 Class 2A threads: coarse series through 1 inch and 8-pitch at 1-1/8 inch and larger.
- Length. Measure it the way the order defines it, overall or first thread to first thread.
- Points. One to two complete threads on each end.
- Marks. Grade and maker’s ID on one end, legible, with the grade matching the cert.
- Nuts. The right grade, finish and count.
Pack each heat separately so the certs match what’s in the box. Under A962, the certification states that the parts were made, sampled and tested to the product specification, gives the specification number and year, the grade symbol and the manufacturer’s identification, and reports the results of the required tests.
Where Automation Fits on a Stud Line
Every step above can run by hand. These are the places MSI machines take hand work out of the process:
- Cutting. If your saw also shortens finished bolts, the Bolt Cutoff Jig mounts on any 10-inch or larger bandsaw and cuts several bolts at once. We build the tooling for regular and heavy hex heads, socket heads and 12-point bolts.
- Chamfering and stamping. The C3A-M ChamferMate chamfers and stamps the end of a stud in the same cycle, so two hand operations become one. It’s one of the compact ChamferMate machines and handles parts from 3/8 inch to 3 inches.
- Marking as a separate step. MarkMate marking machines stamp grade and maker marks into the ends of bolts, studs and shafts, loaded by hand or automatically. The C3A chamfers but doesn’t mark on its own, so marking with a C3A takes an MM-24 MarkMate alongside it.
- Loading. The FeedMate is a step feeder that lifts bolts, studs, rods and shafts out of a hopper and delivers them oriented to chamfering machines, MarkMate machines, thread rollers and cylindrical grinders. Paired with the AMM-24 AutoMarkMate, it feeds studs through marking with no one handling each part. For the bigger picture, see how automatic parts feeders fix production bottlenecks.
- Nut assembly. NutMate machines replace hand threading and assemble up to 1,200 nuts per hour, per person. The NM-2 NutMate Assembly Table puts two spindles on one station so two operators can work side by side, and the Horizontal NutMate runs off a foot pedal for threaded rod and other long parts.
Every MSI machine is made to order. You can start with the step that costs you the most labor and add the rest later.
Built for Stud and Fastener Shops
MSI brings more than 60 years of experience in the fastener and stud bolt industries, and every machine is made to order in Beaumont, Texas. Send us a drawing or a sample stud with the marks you need, and our team will tell you which machines fit your sizes and volume. You can request a quote or see them running in our video library.